Fire Blanket Drawing Guide: Technical Illustrations for Safety Equipment
Summary:This guide explains how to create accurate fire blanket drawings for safety manuals, including dimensions, materials, and usage illustrations to enhance emergency preparedness.
Why Fire Blanket Drawings Matter
When you need to illustrate safety procedures, a proper fire blanket drawing can save lives. These technical illustrations show people how to use this essential fire suppression tool correctly. Unlike photos, drawings highlight key features without distractions.
Your fire blanket drawing should include three crucial elements: the folded blanket's dimensions, the quick-release mechanism, and proper deployment technique. Use clear line work with minimal shading for instructional clarity.
Creating Accurate Dimensions
Start your fire blanket drawing by measuring actual equipment. Standard sizes are 1m×1m or 1.2m×1.8m. Draw the folded blanket first - show thickness (typically 5-10mm) and the storage pouch. Include metric and imperial measurements for international users.
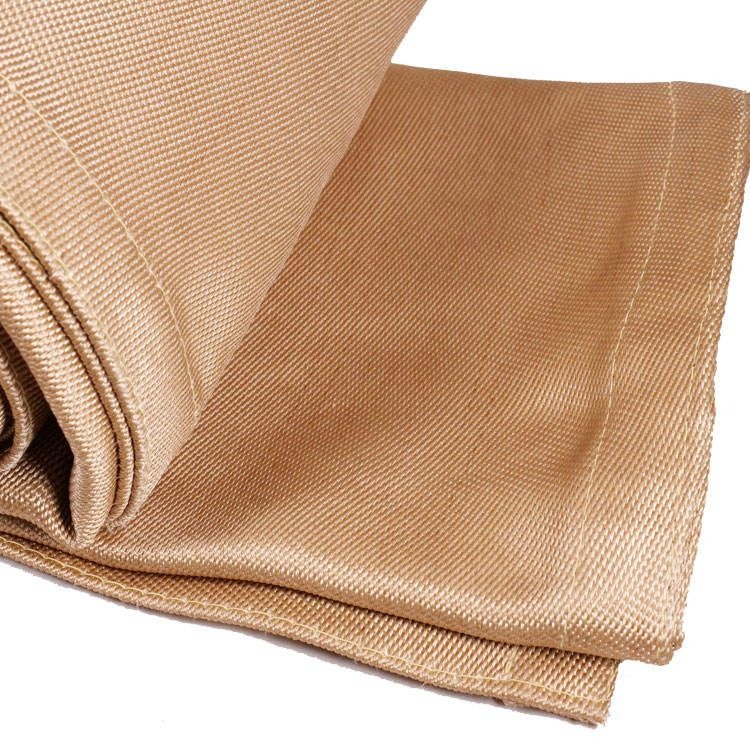
Use cross-sectional views to illustrate material layers: fiberglass weave (outer), fire-resistant coating (middle), and thermal barrier (inner). Label each layer with material specifications (e.g., "Fiberglass - 1000°C resistance").
Illustrating Usage Scenarios
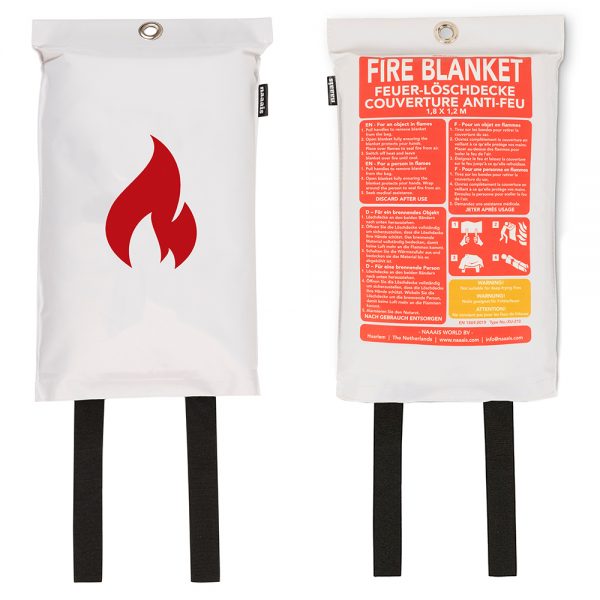
Effective fire blanket drawings show action sequences:
- Pulling tabs from wall-mounted case
- Shaking the blanket open with hands protected
- Approaching fire from upwind position
- Covering flames completely
Add directional arrows showing motion paths. Include "DO NOT" illustrations - like throwing rather than placing the blanket - with clear X-markings over wrong methods.
Technical Drawing Standards
Follow ANSI/ISO technical illustration guidelines:
- Line weights: 0.5pt for details, 1pt for outlines
- Red for fire elements, blue for user actions
- 45° crosshatching for cutaway views
For digital fire blanket drawings, use vector formats (SVG/EPS) at 600dpi minimum. Include alternative text descriptions for accessibility compliance.
Common Mistakes to Avoid
Poor fire blanket drawings cause confusion:
- Oversimplification- Missing key details like heat-resistant stitching
- Incorrect proportions- Making tabs too small to grab in emergency
- Ambiguous perspectives- Mixing top-down and side views without labels
Always test your drawing with first responders during the review process. Their practical feedback improves accuracy.
Software Tools for Professional Results
Create precise fire blanket drawings using:
- CAD programs(AutoCAD, SolidWorks) for dimensionally accurate blueprints
- Vector editors(Illustrator, Inkscape) for clean instructional diagrams
- 3D modeling(Blender, SketchUp) for animated deployment sequences
Remember: Your fire blanket drawing isn't art - it's a life-saving communication tool. Prioritize clarity over aesthetics, and update drawings when equipment designs change.


