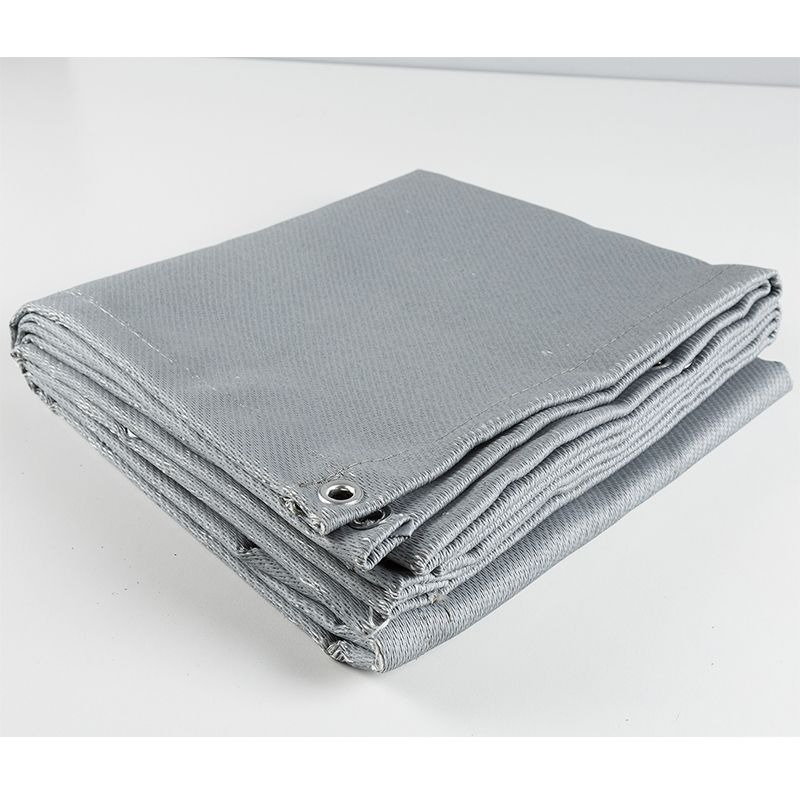
How to Draw a Fire Blanket: Step-by-Step Guide for Safety Diagrams
This guide teaches you how to draw a fire blanket accurately for safety manuals, emergency plans, or educational purposes. You'll learn the key visual elements and proper proportions.
Why Learn to Draw a Fire Blanket?
Knowing how to draw a fire blanket properly is useful for creating safety diagrams, emergency procedure posters, or educational materials. A well-drawn fire blanket helps people recognize this important safety tool in real emergencies.
Materials You'll Need
Before you start drawing your fire blanket, gather these materials:
- Drawing paper or digital tablet
- Pencil and eraser
- Ruler (for straight edges)
- Red and yellow coloring tools (optional)
- Reference images of real fire blankets
Step-by-Step: How to Draw a Fire Blanket
Follow these steps to create an accurate fire blanket drawing:
Step 1: Draw the Basic Shape
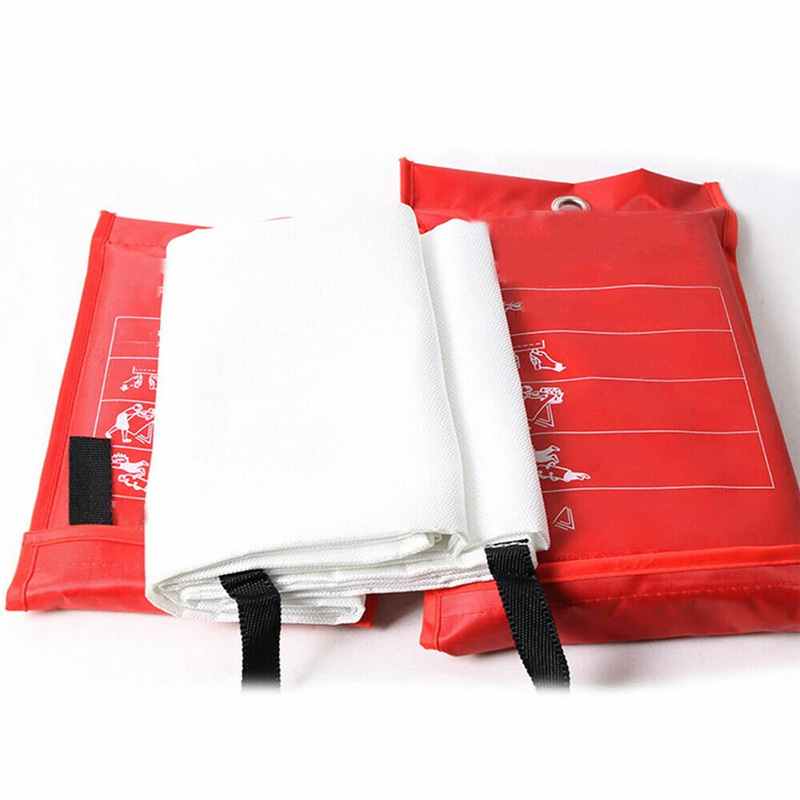
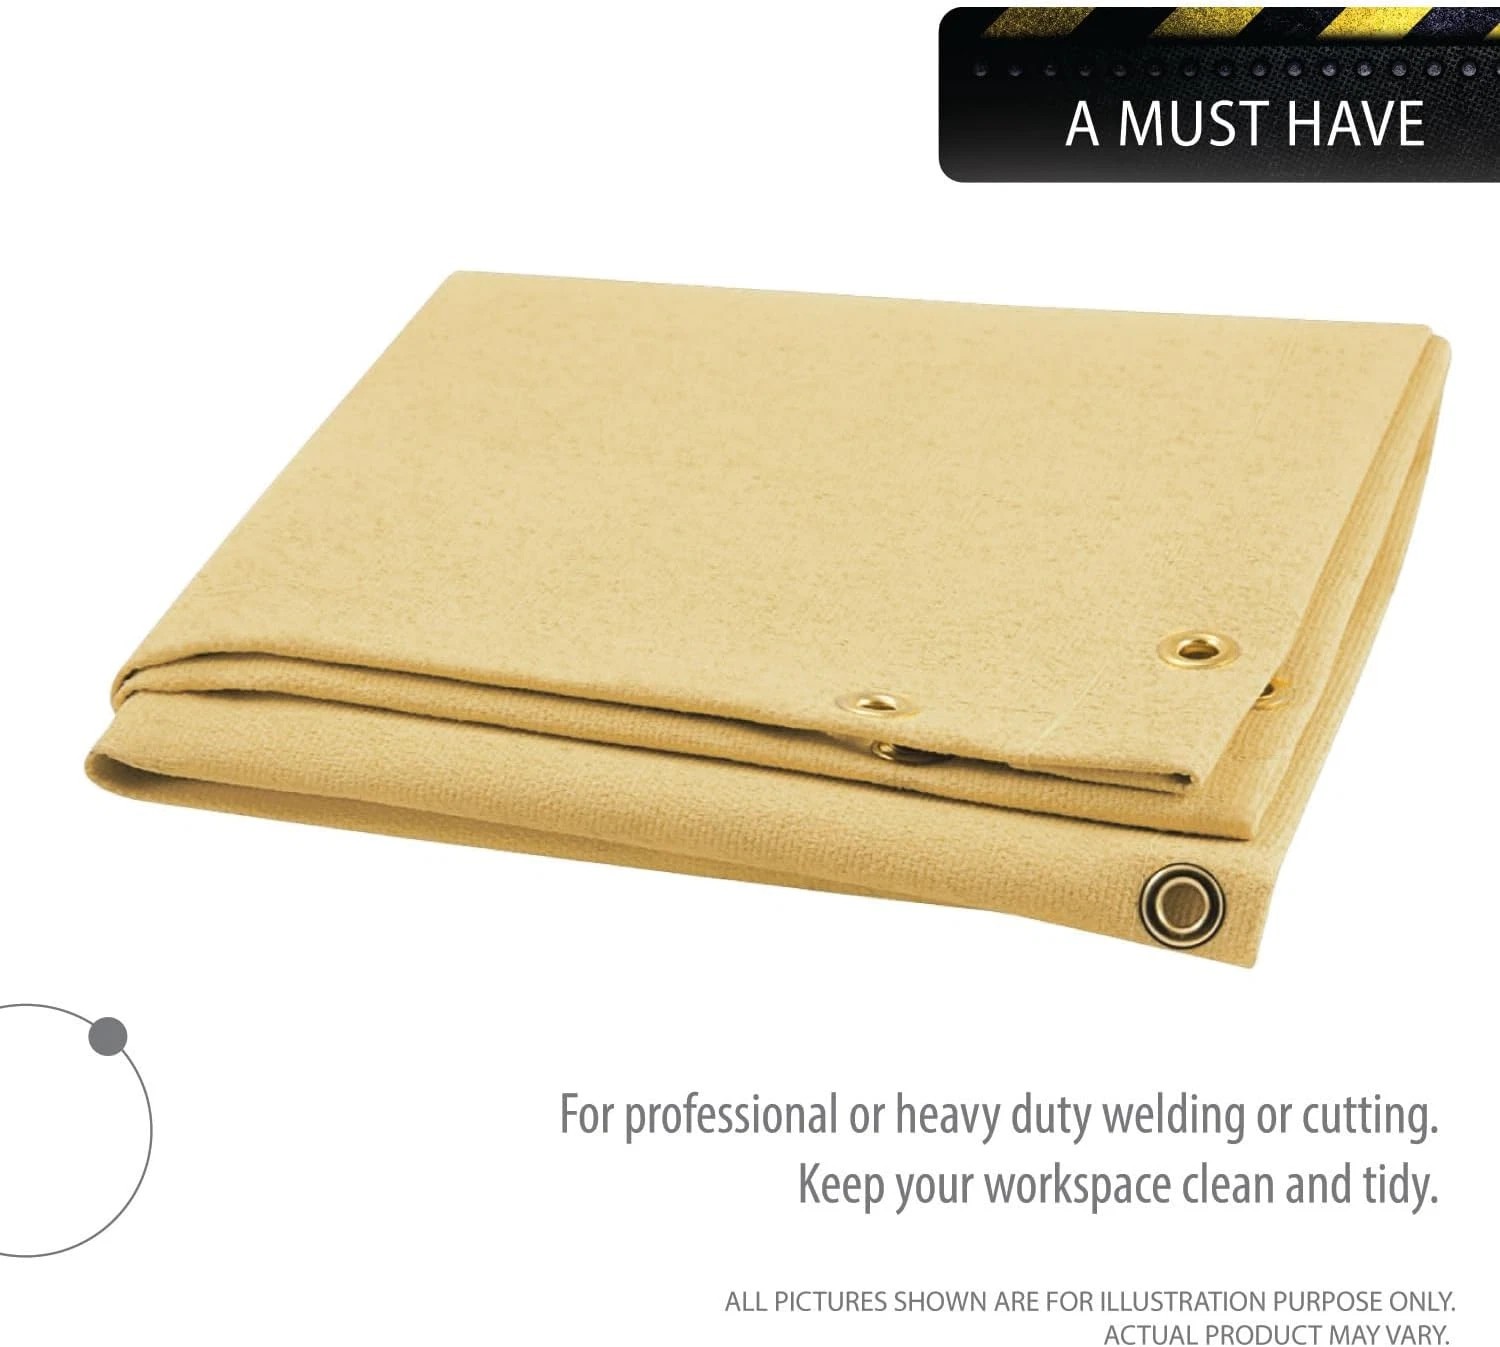
Start with a large rectangle to represent the folded fire blanket. Most fire blankets are square when unfolded, so your rectangle should be slightly taller than wide to show it folded. Use your ruler to keep lines straight.
Step 2: Add the Pull Tabs
Draw two small rectangles protruding from the top corners - these represent the pull tabs used to quickly deploy the blanket. Make them about 1/8 the height of your main rectangle.
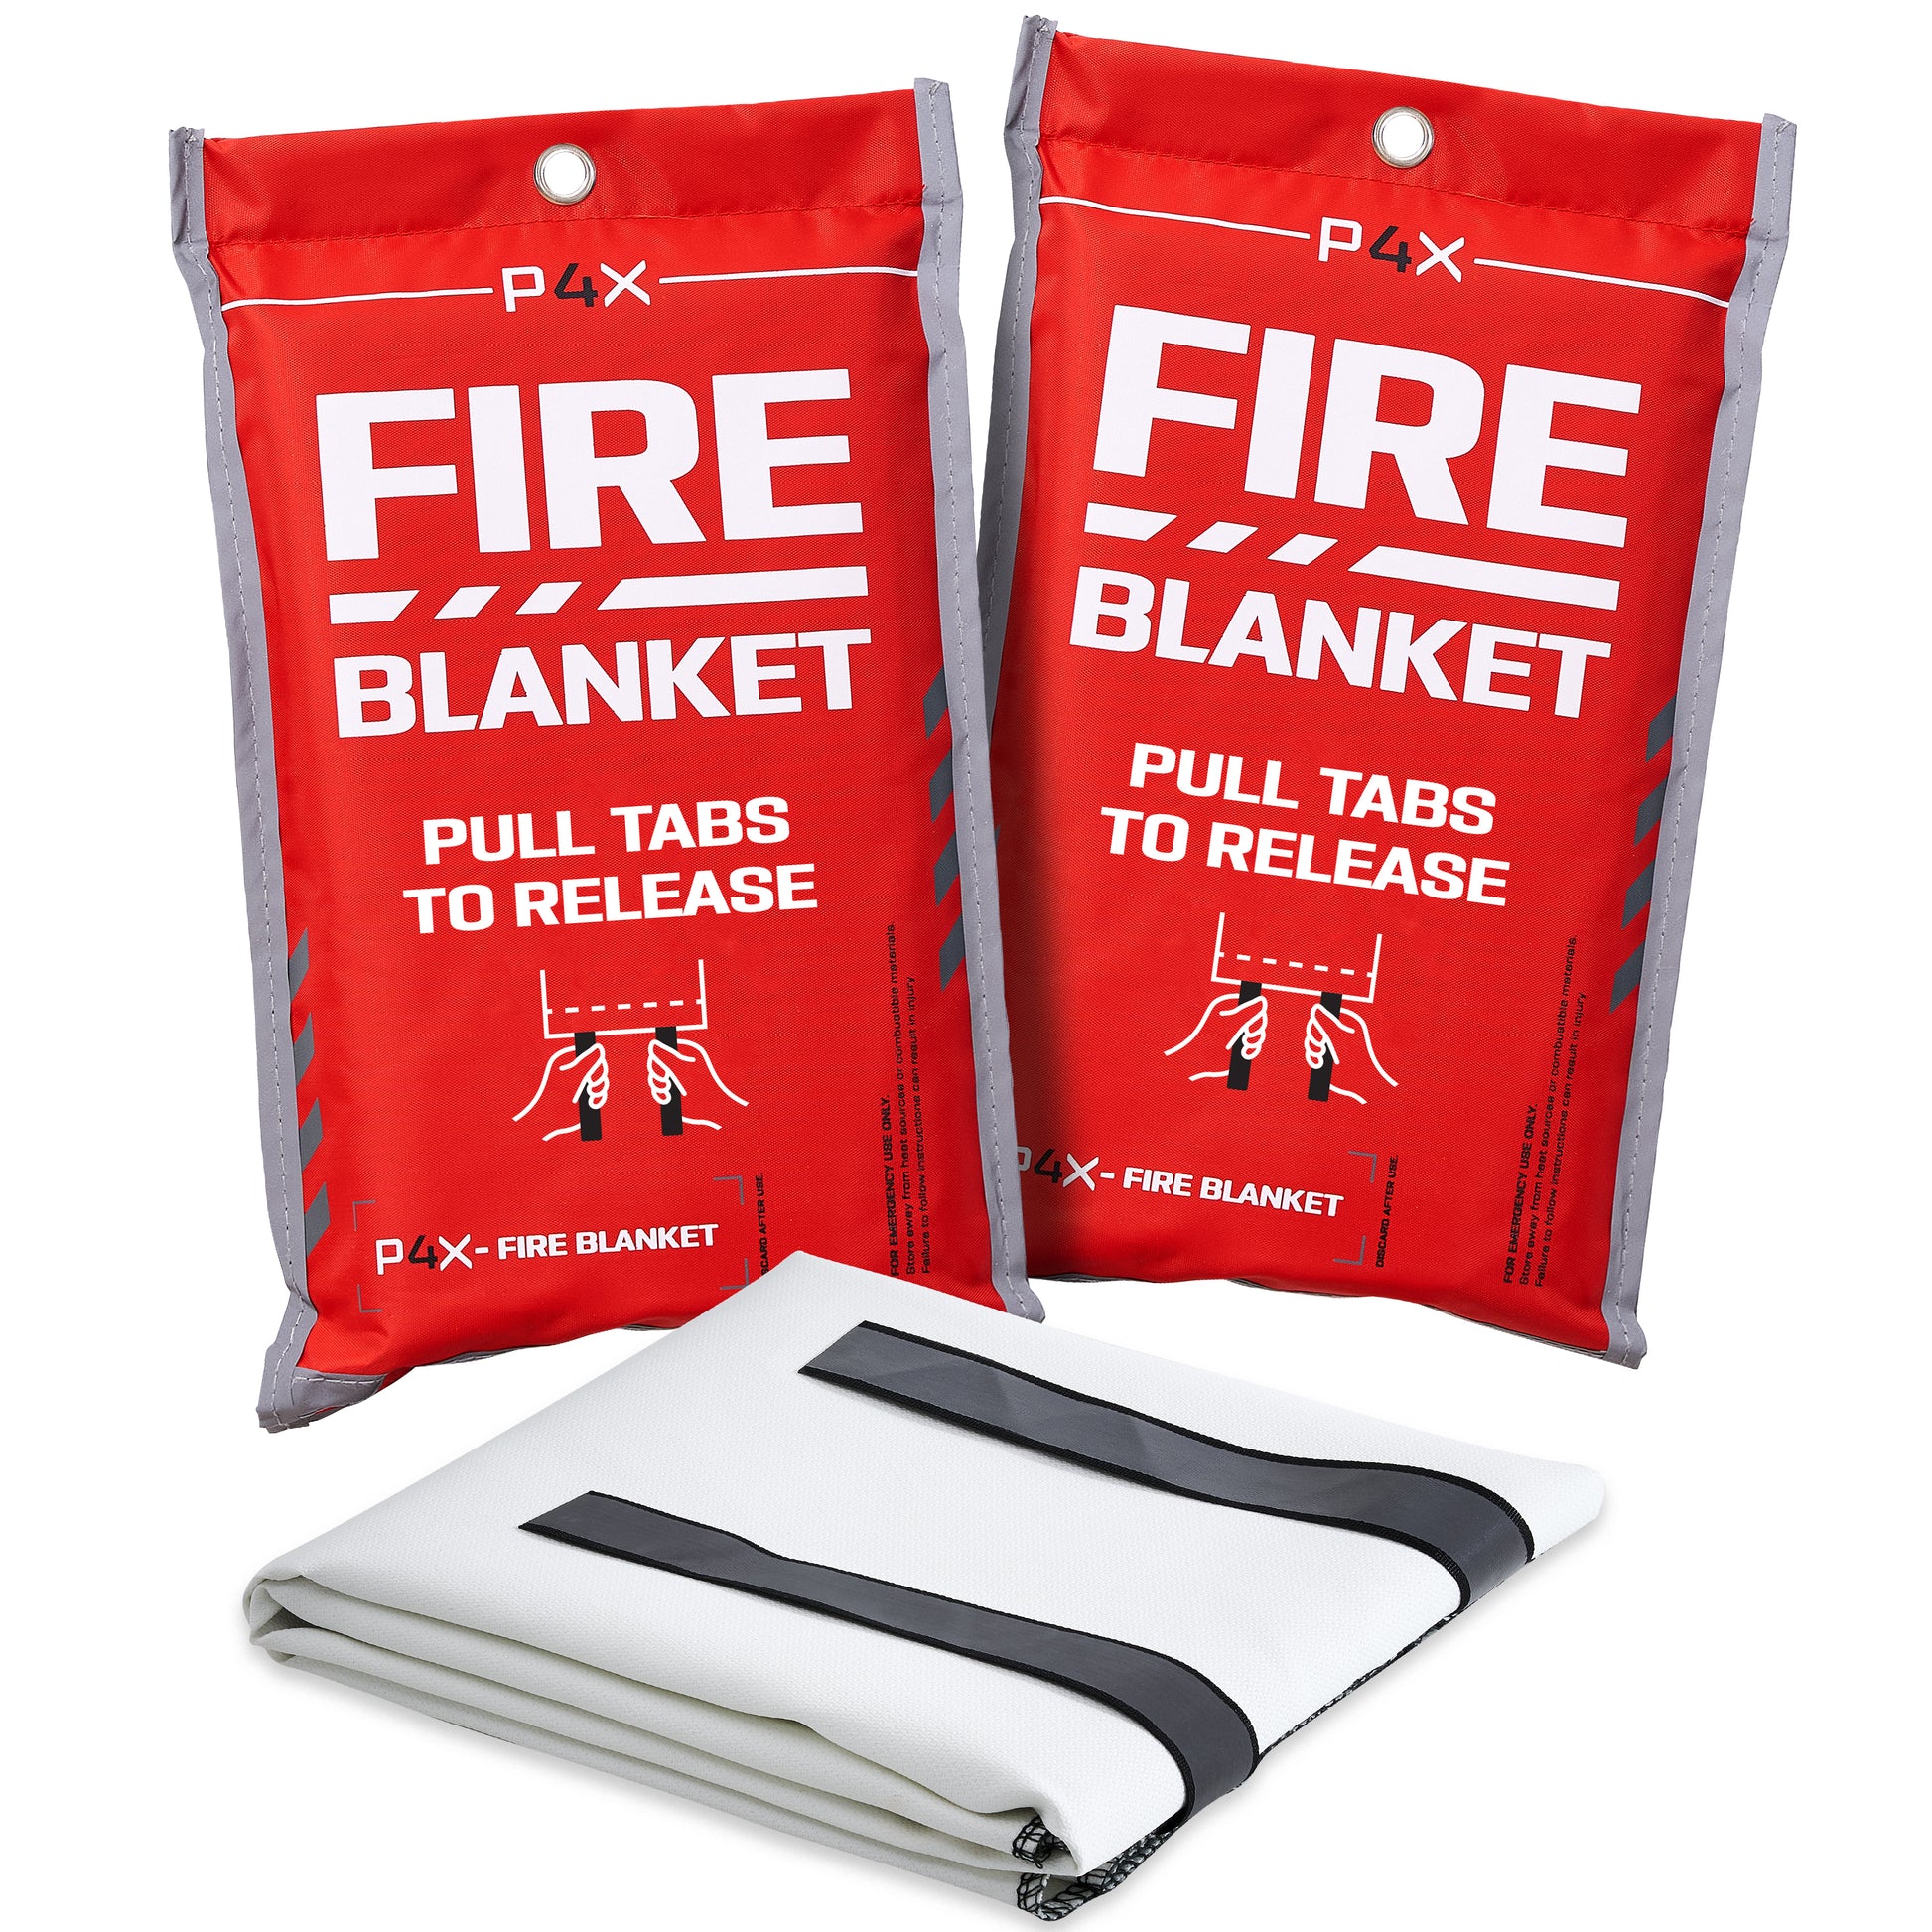
Step 3: Create the Fold Lines
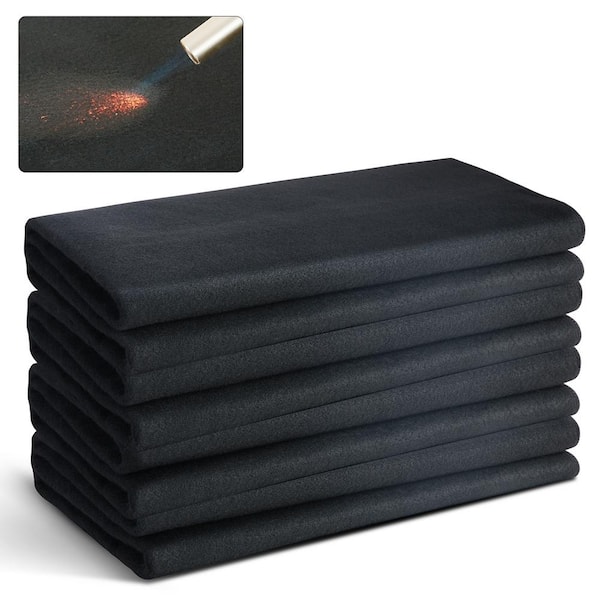
Add two or three horizontal lines across your rectangle to show how the blanket is folded. Space them evenly to represent the accordion-style folding of real fire blankets.
Step 4: Add Safety Labels
Most fire blankets have prominent safety labels. Draw a small rectangle near one edge and write "FIRE BLANKET" inside it. You might also add simple fire symbols or safety instructions.
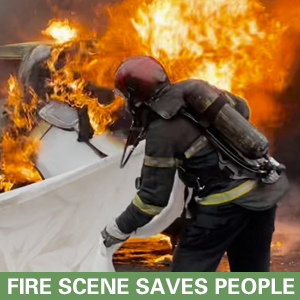
Step 5: Final Details
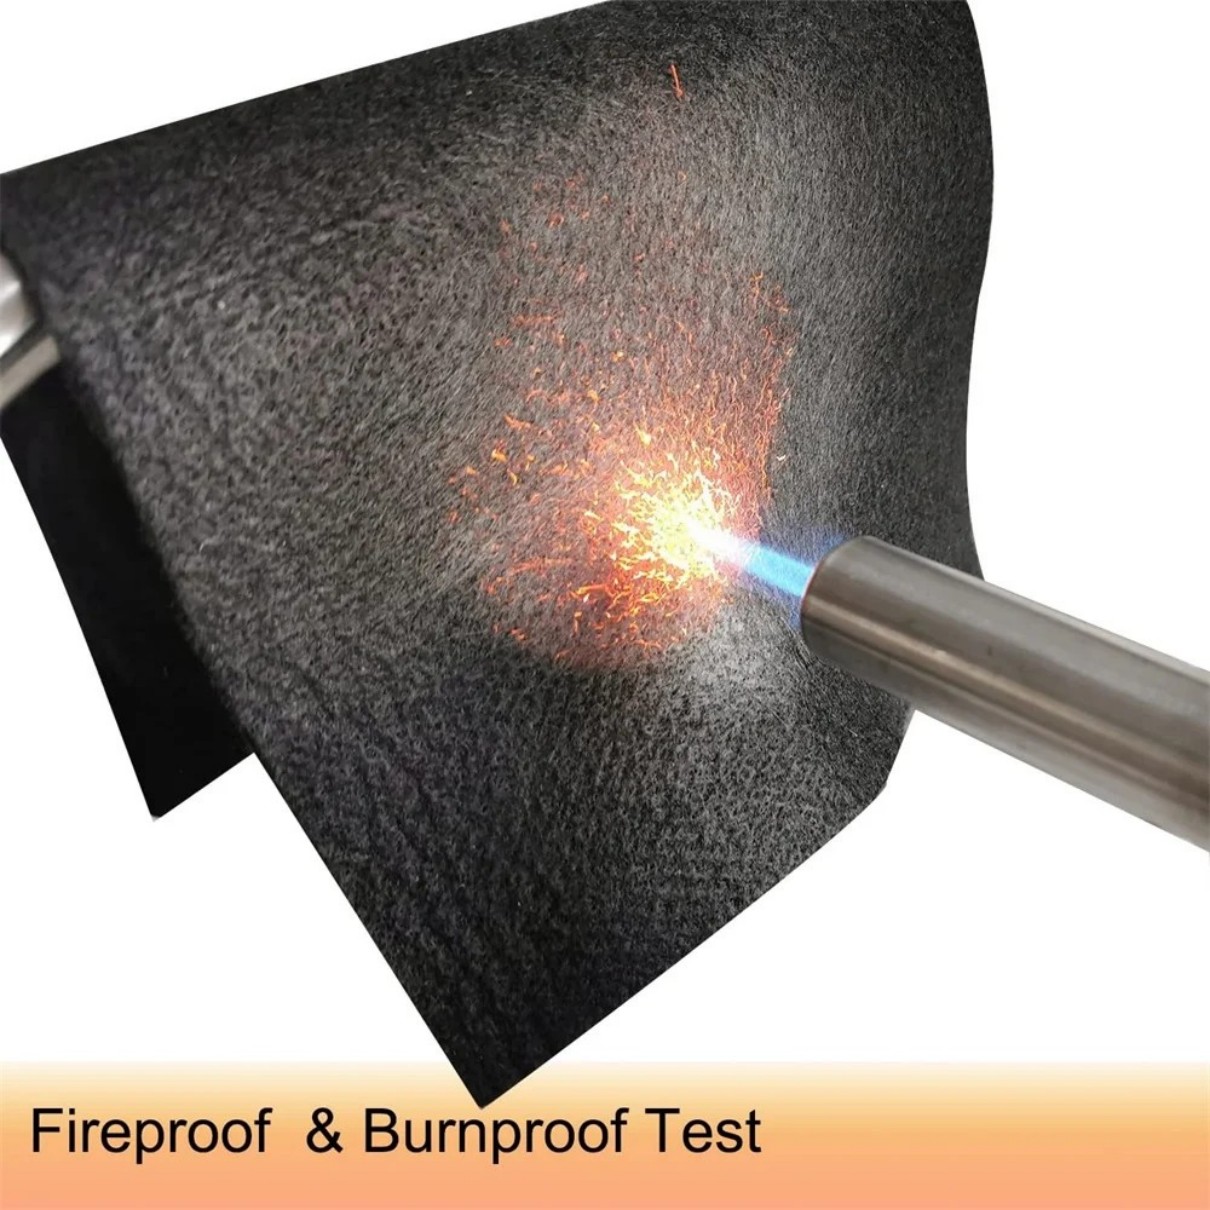
Add texture lines to suggest the blanket's material (usually fiberglass). Draw short, parallel lines at a 45-degree angle across the entire blanket. Keep these light - they should suggest texture without overwhelming the drawing.
Coloring Your Fire Blanket Drawing
While real fire blankets come in different colors, most are red, white, or silver-gray. If coloring:
- Use bright red for high visibility
- Add yellow accents for warning labels
- Keep the main body a solid color
Common Mistakes to Avoid
When drawing a fire blanket, watch out for these errors:
- Making the blanket too small compared to the pull tabs
- Forgetting the fold lines that show it's stored compactly
- Drawing it as a simple rectangle without texture
- Placing labels incorrectly (they should be visible when folded)
Using Your Fire Blanket Drawing
Now that you've learned how to draw a fire blanket, you can use your drawing for:
- Safety posters showing how to smother fires
- Emergency procedure diagrams
- School projects about fire safety
- Instructional materials for workplaces
Advanced Techniques
For more professional results:
- Use perspective to show the blanket at an angle
- Draw it in use, covering a flaming pan
- Create a sequence showing deployment steps
- Add realistic shading to show material thickness
Digital Drawing Tips
If drawing digitally:
- Use vector tools for clean lines
- Create separate layers for base, folds, and labels
- Save your fire blanket drawing as a reusable asset
- Adjust opacity for realistic material effects
Conclusion
Drawing a fire blanket accurately helps create effective safety materials. Remember the key elements: rectangular shape, pull tabs, fold lines, and clear labeling. With practice, you can create professional-looking fire blanket diagrams for various educational and safety purposes.


